Formatting documentation pages
A guide on the syntax for the markdown used on documentation pages
| general | > | contributing | > | tags: documentation |
We use Markdown for formatting the text. This is a simple method to indicate headers, make lists, indicate that words should be italic or bold, and include links in the text.
- Formatting text
- Making lists
- Including code
- Linking to other pages
- Including images
- Creating headers
- Meta-data at the top of the page
- Other formatting tricks
Formatting text
To give text special emphasis by rendering it italic, you put it between *’s. To render it bold you put it between **’s, so double stars. To render it bold and italic, you use triple asterisks, so ***.
*italic*, **bold**, ***bold italic***
renders to:
italic, bold, bold italic
Making lists
If you want to make a list of items you can just start a number of lines with an asterisk *, a - or a +. For example:
* one item
* another item
* and also this item
renders to:
- one item
- another item
- and also this item
If you want to make a multi-level item list, add a tab in front of the sublist:
* one item
    * a sub item
    * another sub item
* another item
* and also this item
renders to:
- one item
- a sub item
- another sub item
- another item
- and also this item
You can create a numbered list just by numbering the items:
1. one item
    1. a sub item
    2. another sub item
2. another item
3. and also this item
Renders to:
- one item
- a sub item
- another sub item
- another item
- and also this item
Or you can mix it:
You can create a numbered list just by numbering the items:
1. one item
    * a sub item
    * another sub item
2. another item
3. and also this item
Renders to:
- one item
- a sub item
- another sub item
- another item
- and also this item
Including code
To show some text in fixed size font, for example code, you can place it between tick marks:
Running text with a one word `code` in it.
Renders to:
Running text with a one word code in it.
Longer pieces of code you can insert like this:
```
This is all code
and more lines.
and some more.

```
Rendering to:
This is all code
and more lines.
and some more.
Or use tabs or whitespace in front
    This is all code
    and more lines.
    and some more.
Rendering to:
This is all code
and more lines.
and some more.
Linking to other pages
You can create a link to another page by creating a clickable text between [ and ] and then add the URL to the page in brackets. For example to link to the forum, you would do:
Please submit your questions to the [forum](https://forum.sensestage.eu)
Which renders to:
Please submit your questions to the forum
If you want to reference another documentation page, you should just use the filename of the documentation page. For example:
[How to contribute to documentation](contributing-to-the-documentation)
Renders to:
How to contribute to documentation
If you want to use the URL as the linkable text you can use this syntax:
[https://forum.sensestage.eu]()
Renders to:
Anchors
You can create anchors within a page, if you want to link to a particular part of the page. For example if you want an overview of the page on top, with links to the different sections of the page. The anchors need to be in a header or subheader.
## Creating an anchor {#myanchor}
Renders to an invisible anchor:
Creating an anchor
But we can now link to it like this:
Go back to the [anchor example](#myanchor)
Which we’ve rendered at the bottom of the page so you can go back to the anchor by clicking on the link down there.
To go to an anchor on a different page you link to first the page name and then the anchor. For example:
[Unpacking the Sense/Stage MiniBee Kit](getting-started-with-sense-stage#step0)
Unpacking the Sense/Stage MiniBee Kit
Including images
If you want to include an image, you have to put the image in the img folder. Then you format the link to the image like this:

To insert the image like this:

Additional parameters for images:
{:width="100px"}

Add a caption:
{:.image-caption}

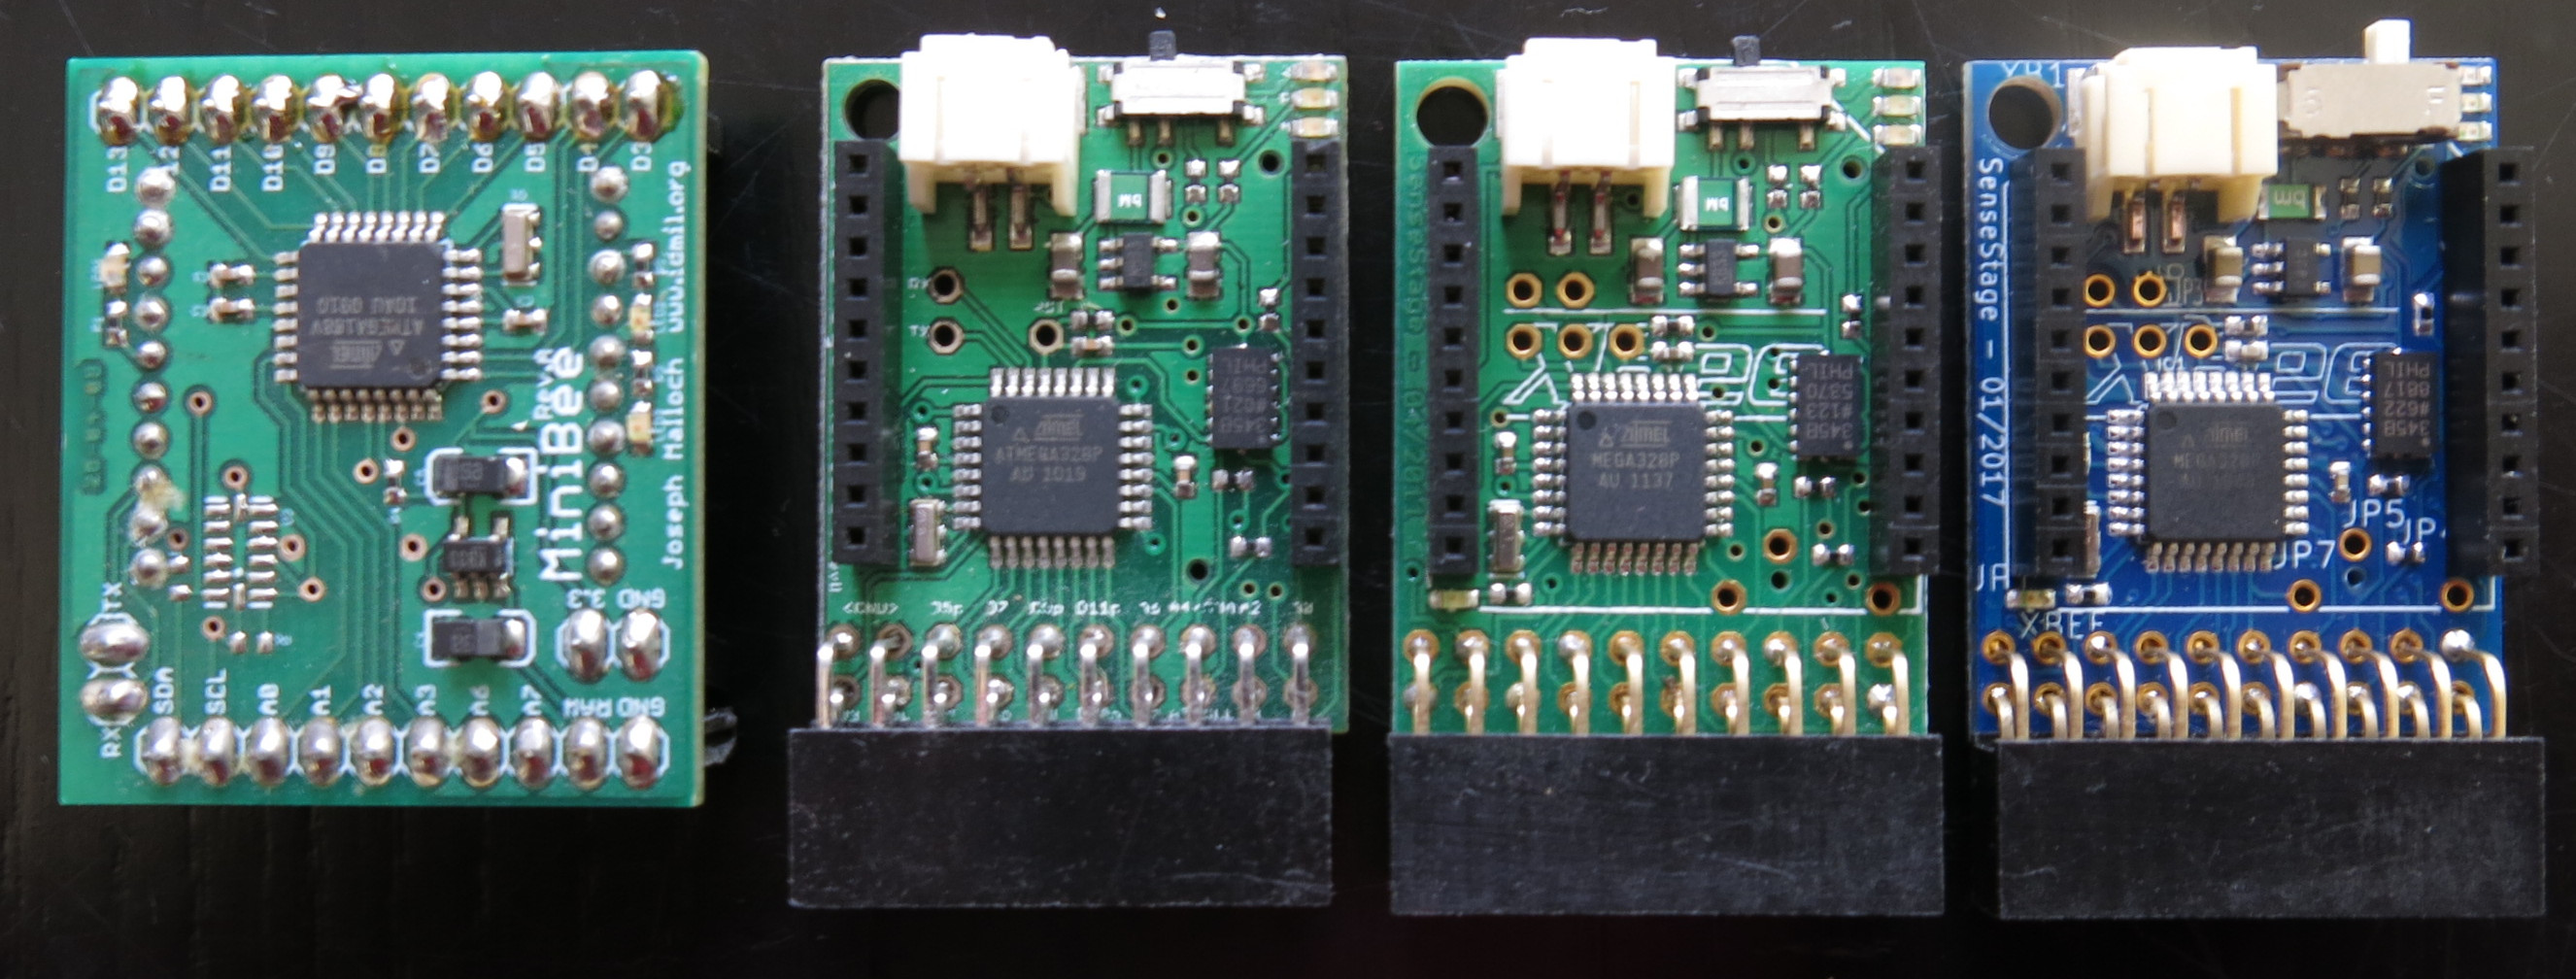
*From left to right: MiniBee revisions A, B, D and F*
renders to
 From left to right: MiniBee revisions A, B, D and F
Creating section headers
A # in front of a line will make it into a header:
# This is a header
Renders to:
This is a header
Adding more #’s makes subheaders:
## This is a subheader
### This is a sub-sub-header
This is a subheader
This is a sub-sub-header
Other formatting tricks
- To insert a horizontal line:
-----
Rendering this horizontal line:
- To create a special note:
> important note
important note
More about the markdown syntax
For a full rundown of the syntax that can be used, please take a look at the kramdown syntax page.
Meta-data at the top of the page
At the top of a documentation page there should be some meta-data, which provides information for the rendering of the page, including the title, a summary of what the page is about, creation date, categories and related pages.
---
title: title of page
summary: a short description of what this documentation page is about
layout: documentation
type: [tutorial | guide | reference | overview]
creation-date: 2017-02-06
category: [ introduction | hardware | firmware | software | meta ]
subcategory: [minibee | expansion ]
related:
  - anotherTitle
  - yetAnotherTitle
---
title- this should be the title of the pagesummary- a summary of what the page is about. This will be presented in the overview pages of the documentation.layout- this should bedocumentation.type- this is the kind of page it is; so if you are writing a tutorial on how to use sensor data in Max, it should betutorial. If it is a reference about what features the new expansion board has, it is areference.creation-date- the date of when you are creating the file, so today.category- one ofintroduction,hardware,firmware,software,meta(for anything else)subcategory- the particular topic within the category, for exampleminibee,installation,community.related- other documentation pages that are related to the same topic and readers may also want to look up.
Below this meta-data (which is between two lines with ---) you can write the actual content of the page.
Here you can find a page template
The bottom of the page
Go back to the anchor example
Related pages:
| general | > | contributing | > | tags: documentation |
| page created on: | last changed on: |
|---|---|
| 26 March 2017 | 4 September 2019 |
