Using X-CTU to configure an XBee
This page describes how to use X-CTU to load an XBee configuration profile onto an XBee, to prepare the XBee for use with the Sense/Stage MiniBee.
| sensestage-v1 | > | hardware | > | xbee | tags: |
Getting X-CTU
X-CTU is free software from Digi that allows you to configure the XBees. The software is written in Java and is crossplatform, so it can be used on Windows, OSX and Linux.
Use this direct link to get to the X-CTU page. In case the direct link does not work, search on the website of Digi for the software in the search field with the keyword X-CTU.
Click on the Download link on the website to get the software.
Getting the XBee profiles for the Sense/Stage MiniBee
The XBee profiles for Sense/Stage are available from . Click on the Clone or Download button, or use this direct link for a zip-file.
Unpack the folder. The layout of the folders is as follows:
- In the folder
at, the files are for the old AT mode, which were used with older (before 2012) MiniBee firmware. - In the folder
api, the files are for the API mode. These are the ones that are used with the current MiniBee firmware. - The folder
apiis further subdivided inprowith profiles for the XBee Pro, andregularfor the normal XBees. - In the folder
regularyou find 6 files; the ones withcoordinatorin are used for the coordinator board, the ones withenddevicein the name are used for the XBees on the MiniBees.wscoordinator_api.pro- version for old X-CTU softwarewsenddevice_api.pro- version for old X-CTU softwarecoordinator_1155_api2.xml- version for new X-CTU softwareenddevice_1155_api2.xml- version for new X-CTU softwarecoordinator_2017F_10ef.xml- current version with which MiniBee revision F is shippedenddevice_2017F_10ef.xml- current version with which MiniBee revision F is shipped
Loading a profile onto the XBee with X-CTU
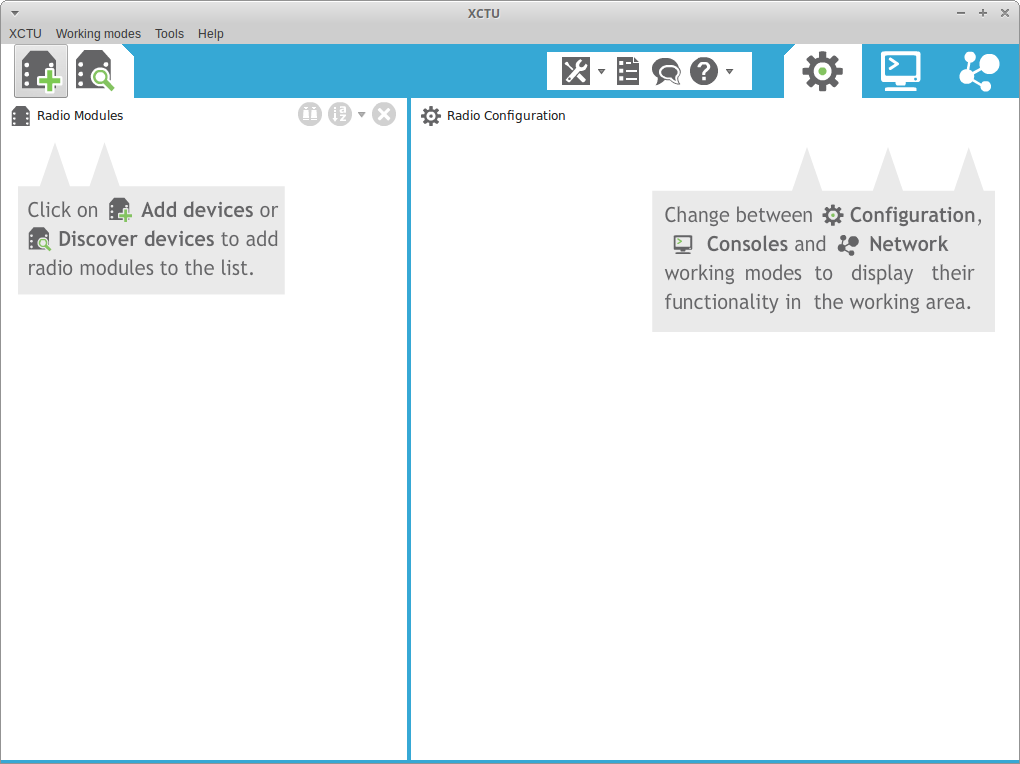
When you start the X-CTU software, you will see the following screen:
Selecting the radio
Click on the Add devices button in the upper left corner to add a new device. You will get the following dialog:
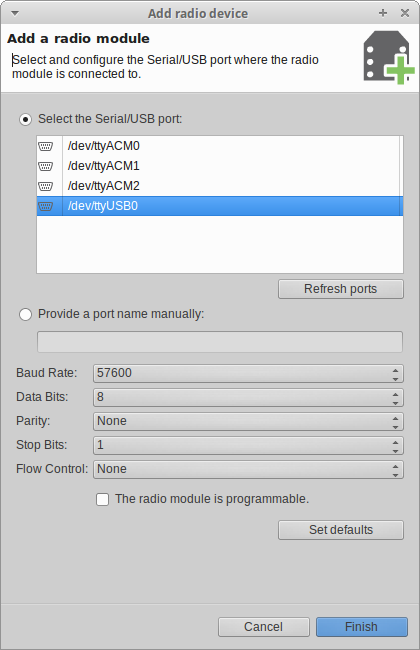
Note: you have to have your coordinator board with an XBee on top connected to your computer right now! If you plug it in when the dialog is already open, click on the button
Refresh ports.
From the top half, select the Serial/USB port you want to use. On Linux, this should be something like /dev/ttyUSB0, on OSX something like /dev/tty.usbserialAACC123, on Windows something like COM3.
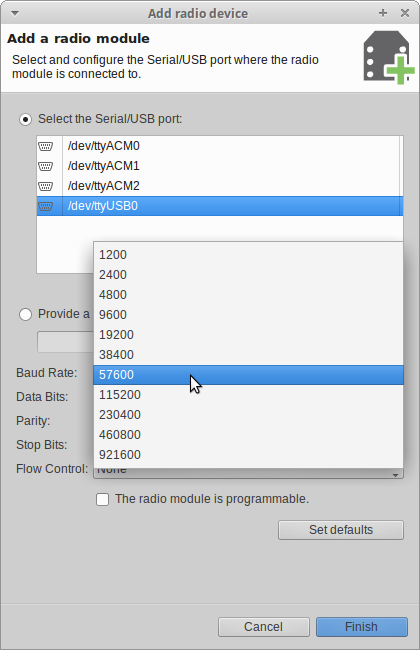
In the lower half of the dialog, you may want to change the baudrate. If the XBee has not been configured before (i.e. if you did not buy it together with a MiniBee), select 9600. If the XBee has been used with the Sense/Stage MiniBee before (or bought with a Sense/Stage MiniBee), then select 57600.
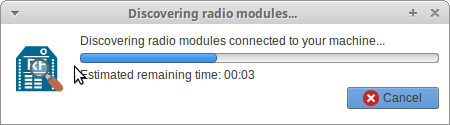
After selecting the USB port and checking the baudrate setting, click on the Finish button in the lower right corner. You will now get the following screen:
In rare occasions, it cannot find the radio and asks you to reset the radio:
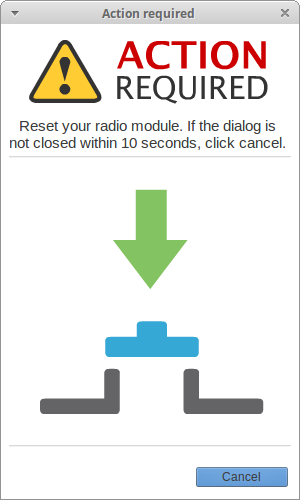
If this dialog shows up, push the button on the coordinator board that is at the edge under the XBee radio.
Once the radio has been found, you will see the following screen:

Click on the radio to see its configuration. You will get a popup screen telling you that it is updating the user interface and reading the radio settings:
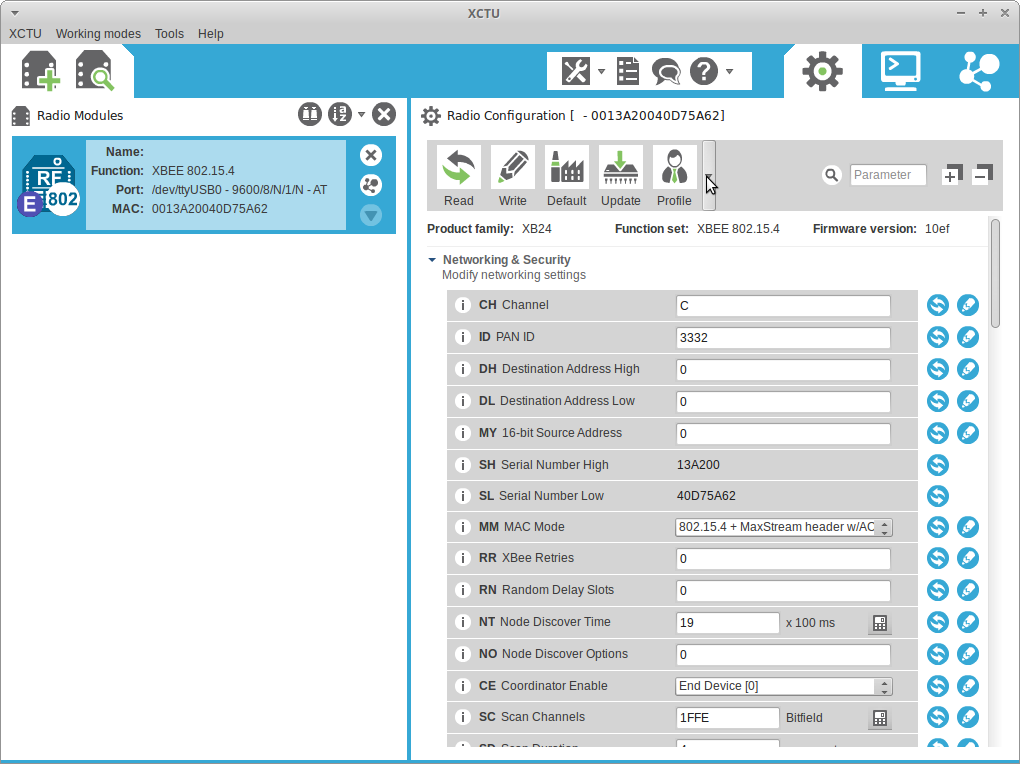
After that, it will show a list of settings in the right half of the screen.
Selecting a profile
We will now select a profile to load. Go with the mouse cursor to the Profile button at the top in the middle. Once you click on it, you can choose between loading and saving a profile.
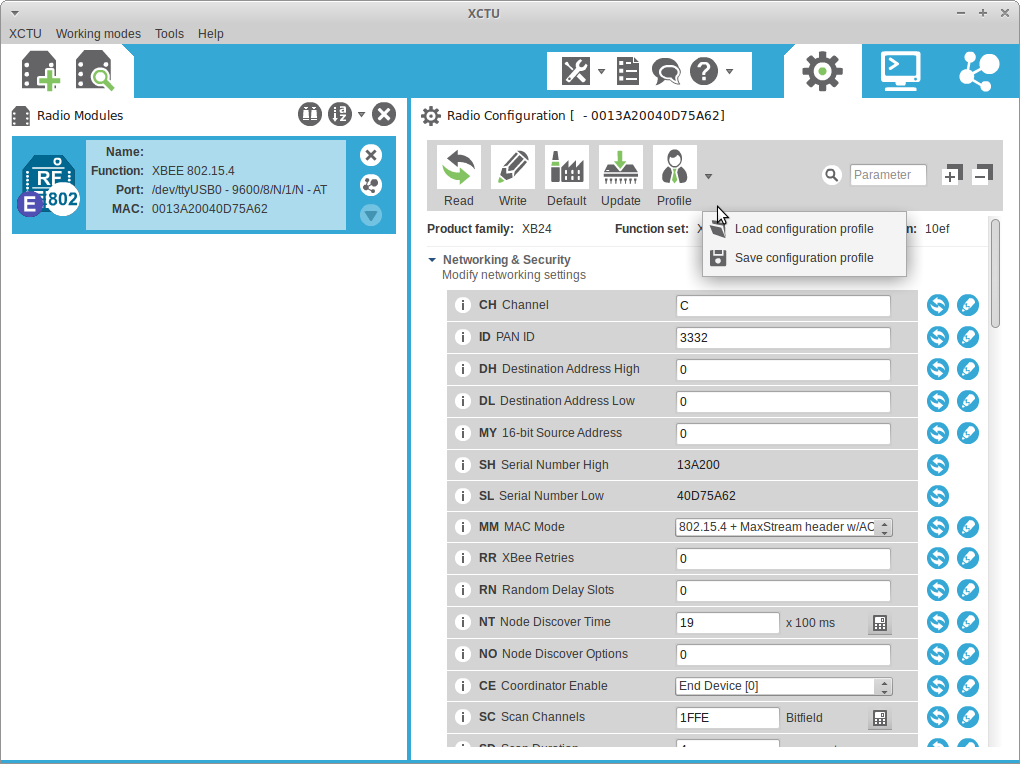
Click on Load configuration profile and browse to where you unpacked the zip-file with the profiles. Choose enddevice_2017F_10ef.xml if you want to program the XBee for use on top of the MiniBee; choose coordinator_2017F_10ef.xml if you want to program the XBee for use on the coordinator board that is connected to the computer.
X-CTU may give a warning that the radio firmware does not match with the profile and ask for updating:
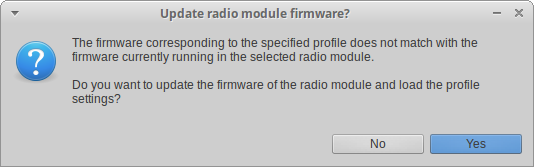
Select yes to do so, especially if it is a new version (higher number), then it will make the performance of the XBee better.
Once you have opened the configuration profile file, the list will show which settings are in the profile. The settings that are changed but not written, have a green triangle in the lower right corner.
Writing the changed settings
You still need to write the settings to the XBee. For this, select Write from the menu, as shown in the screenshot.

You may get a popup window that there are some empty values; don’t worry about this and click ok.
![]()
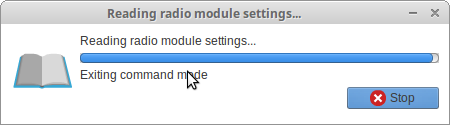
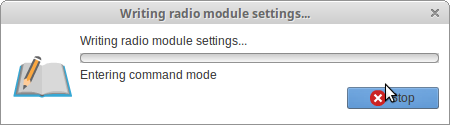
You will get a popup window indicating that the settings are being written:
After writing the values, the triangles that were green are now blue. This indicates that the values are written to the radio, but that they are different from the factory settings of the XBee.

You can now close the radio again by selecting the cross, see where the mouse cursor is in the screenshot:

Now, disconnect the coordinator node from the computer and, if you want to configure another XBee, remove the XBee and place the new XBee on top. And start again.
Related pages:
| sensestage-v1 | > | hardware | > | xbee | tags: |
| page created on: | last changed on: |
|---|---|
| 4 May 2017 | 28 March 2018 |