Using X-CTU to change settings of an XBee
This page describes how to use X-CTU to change settings on an XBee.
| minibee | hardware | minibee | battery | coordinator | expansion | xbee |
| tags |
Getting X-CTU
X-CTU is free software from Digi that allows you to configure the XBees. The software is written in Java and is crossplatform, so it can be used on Windows, OSX and Linux.
Use this direct link to get to the X-CTU page. In case the direct link does not work, search on the website of Digi for the software in the search field with the keyword X-CTU.
Click on the Download link on the website to get the software.
Opening the radio in X-CTU
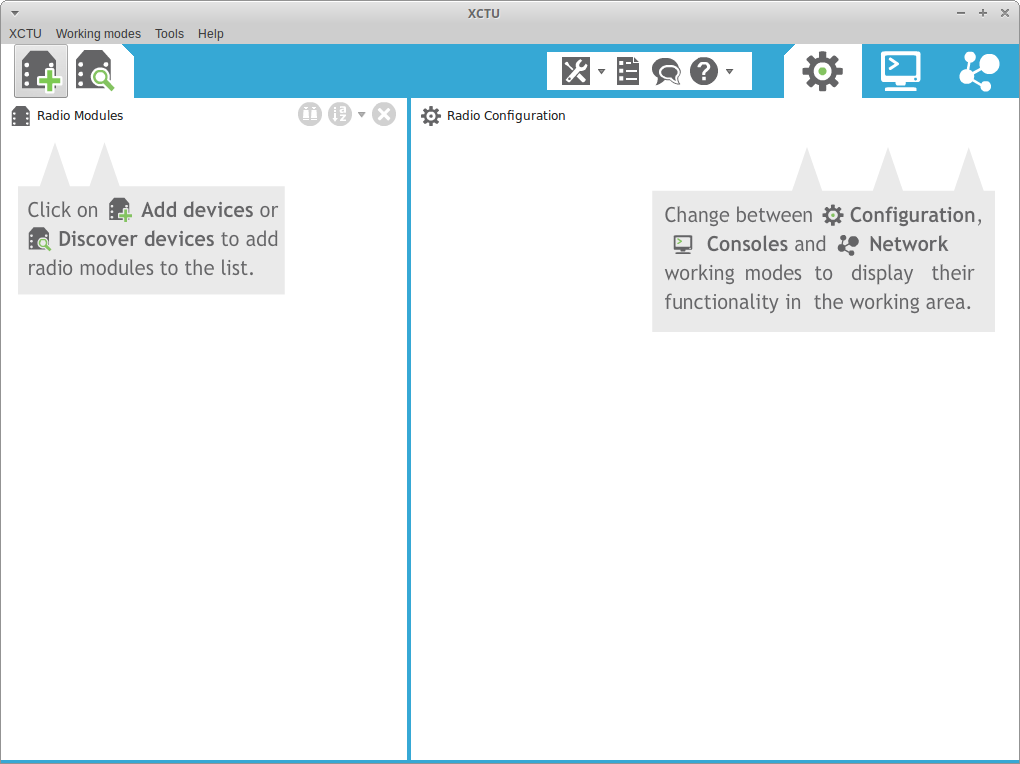
When you start the X-CTU software, you will see the following screen:
Selecting the radio
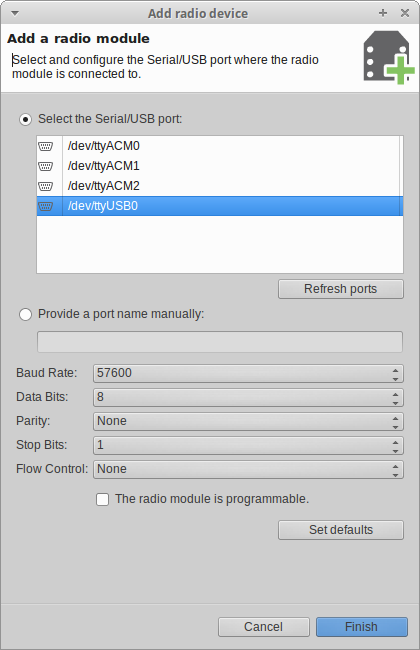
Click on the Add devices button in the upper left corner to add a new device. You will get the following dialog:
Note: you have to have your coordinator board with an XBee on top connected to your computer right now! If you plug it in when the dialog is already open, click on the button
Refresh ports.
From the top half, select the Serial/USB port you want to use. On Linux, this should be something like /dev/ttyUSB0, on OSX something like /dev/tty.usbserialAACC123, on Windows something like COM3.
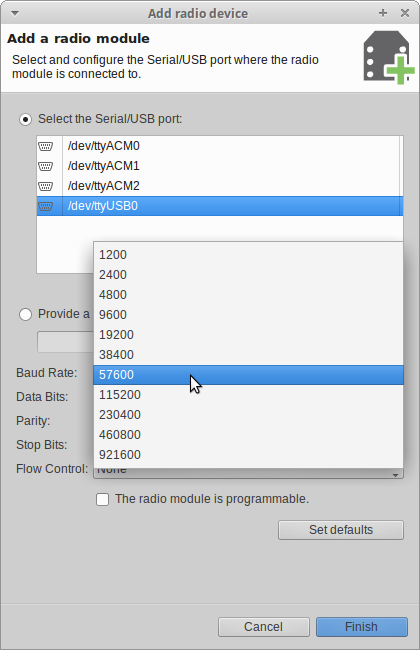
In the lower half of the dialog, you may want to change the baudrate. If the XBee has not been configured before (i.e. if you did not buy it together with a MiniBee), select 9600. If the XBee has been used with the Sense/Stage MiniBee before (or bought with a Sense/Stage MiniBee), then select 57600.
After selecting the USB port and checking the baudrate setting, click on the Finish button in the lower right corner. You will now get the following screen:
In rare occasions, it cannot find the radio and asks you to reset the radio:
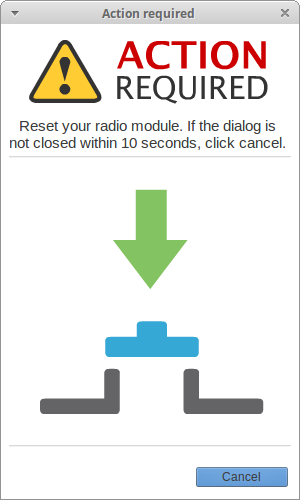
If this dialog shows up, push the button on the coordinator board that is at the edge under the XBee radio.
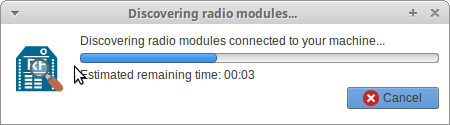
Once the radio has been found, you will see the following screen:

Click on the radio to see its configuration. You will get a popup screen telling you that it is updating the user interface and reading the radio settings:
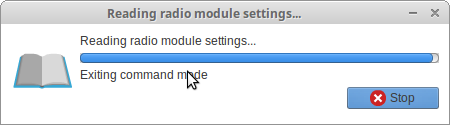
After that, it will show a list of settings in the right half of the screen.
Changing settings of an XBee with X-CTU
Once you have selected the radio to view its configuration, you will see the following screen:

The settings you most likely want to change are the Channel, pan id and power level.
Channel and pan id
The channel determines on which radio frequency the XBee are transmitting. In the 2.4 GHz band there are different subbands which can be used; which one to choose depends on what other frequencies are being used in the space, for example by WiFi routers. See the documentation page on choosing a radio frequency for a discussion about this.
The pan id is an identifier within the channel to distinguish different XBee networks from each other. XBees will just ignore traffic that is happening with different pan ids. pan is an acronym for ‘Personal Area Network’.
In general, you just may want to change the channel and/or the pan id in order to have something different that the default setting the XBee is shipped with as part of the MiniBee set. This will avoid problems when you happen to be in the same space as someone else using the MiniBees. For example in your class with other students working with MiniBee sets, or in a concert or exhibition space.
Power level
The international version of the XBee Pro has a higher power level than is generally allowed in Europe. So you will have to set the power level to 0 in order to be within European regulations for radio transmissions.
By default the power level is at 4.
Changing the settings
You can click on the i on the left of a setting, to see a description of the setting. In the editing field on the right side, you can type the new value you want to use. There will be a popup, showing you the allowed values.
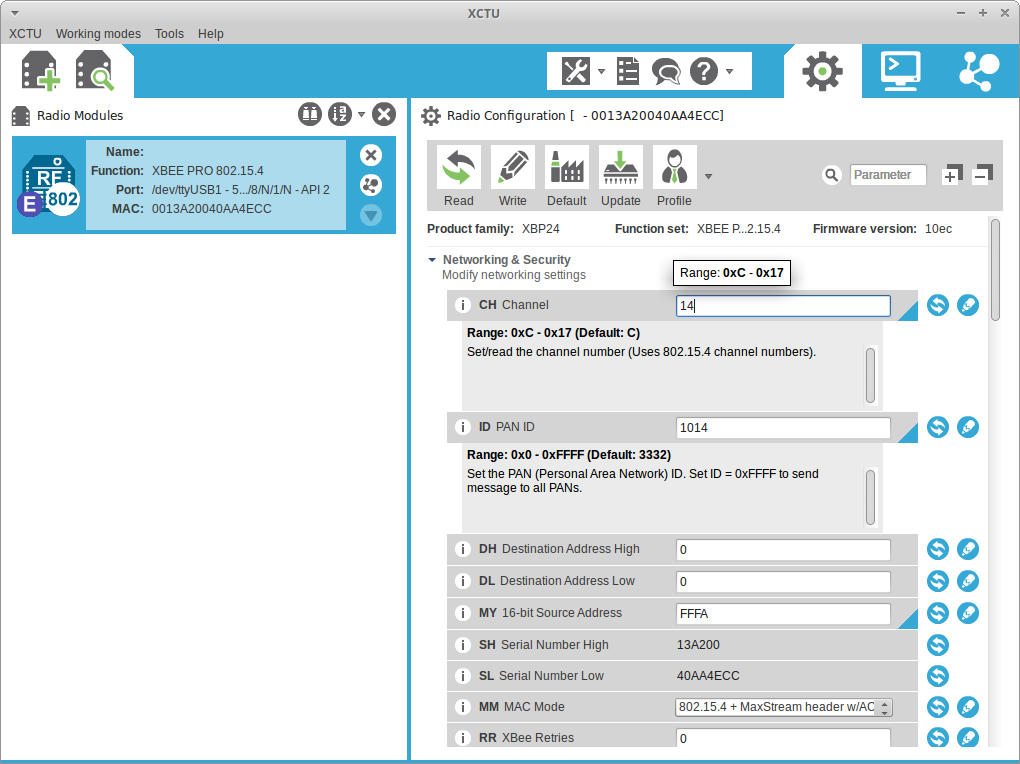
Once you change the setting, the blue triangle will turn green, indicating that you changed the setting in the dialog, but have not written it to the radio yet.

Writing the changed settings
You still need to write the settings to the XBee. For this, select Write from the menu, as shown in the screenshot.

You may get a popup window that there are some empty values; don’t worry about this and click ok.
![]()
You will get a popup window indicating that the settings are being written:
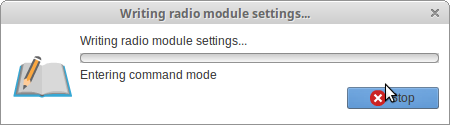
After writing the values, the triangles that were green are now blue. This indicates that the values are written to the radio, but that they are different from the factory settings of the XBee.
You can now close the radio again by selecting the cross, see where the mouse cursor is in the screenshot:
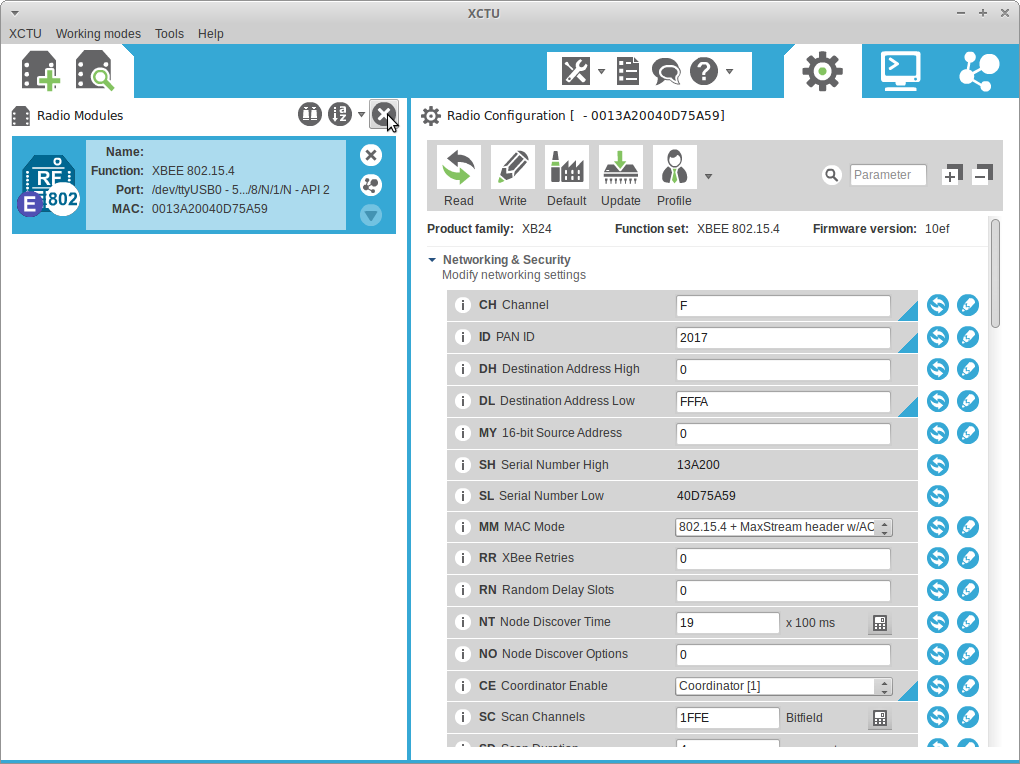
Now, disconnect the coordinator node from the computer and, if you want to configure another XBee, remove the XBee and place the new XBee on top. And start again.
Old documentation (using the serial program)
Related pages:
| minibee | hardware | minibee | battery | coordinator | expansion | xbee |
| tags |
| page created on: | last changed on: |
|---|---|
| 4 May 2017 | 6 February 2018 |