Embed the battery charger
A guide on how to embed your battery charger in your setup
| minibee | hardware | minibee | battery | coordinator | expansion | xbee |
| tags |
In some cases you may want to embed the battery charger in your setup, rather than having to unplug the battery each time you want to charge it. With a little bit of soldering, this is entirely feasible to do!
Connecting a wire to the battery charger
If you look at the battery charger, you notice two holes in the middle of the board, marked + and -.
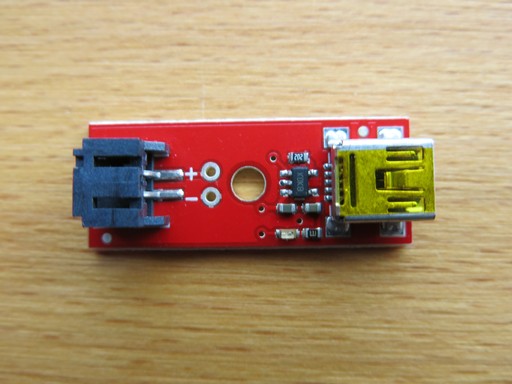
To this you can connect a JST Jumper wire:
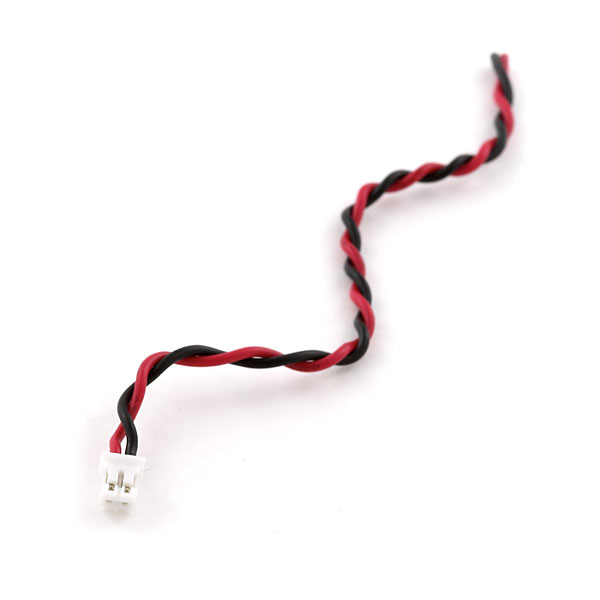
The red wire is soldered to the + and the black wire to the -.
You can then connect your battery to the charger and plug in the cable you soldered to the MiniBee.
Alternative: solder to the MiniBee
If you don’t have a JST jumper wire available, you can solder two wires (I recommend using red for + and black for -) between the charger board and the MiniBee.
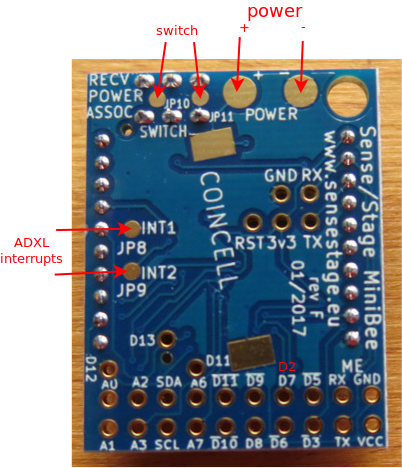
In revision F we added pads at the bottom of the MiniBee to solder a power connection to:
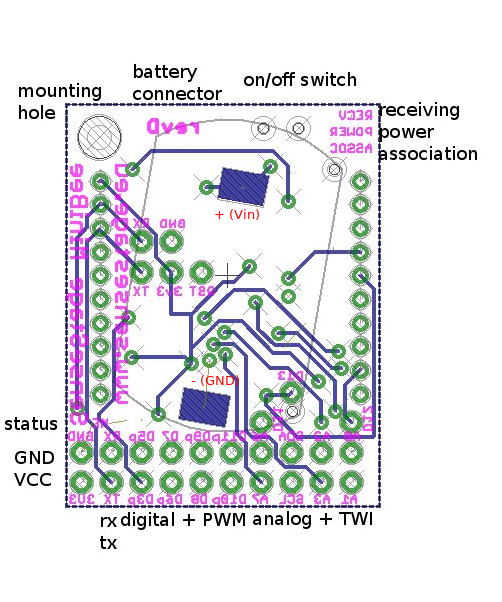
For revision D it is a bit more complicated, you can solder to the JST connector:
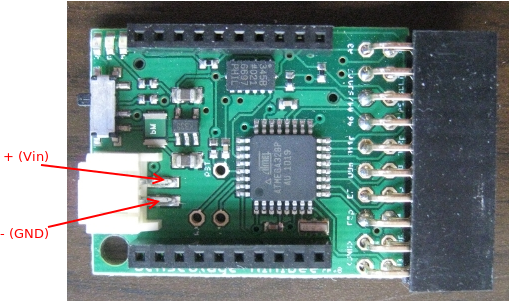
or use the pads at the bottom for the coin cell (blue in the image):
| minibee | hardware | minibee | battery | coordinator | expansion | xbee |
| tags |
| page created on: | last changed on: |
|---|---|
| 6 February 2018 | 6 February 2018 |